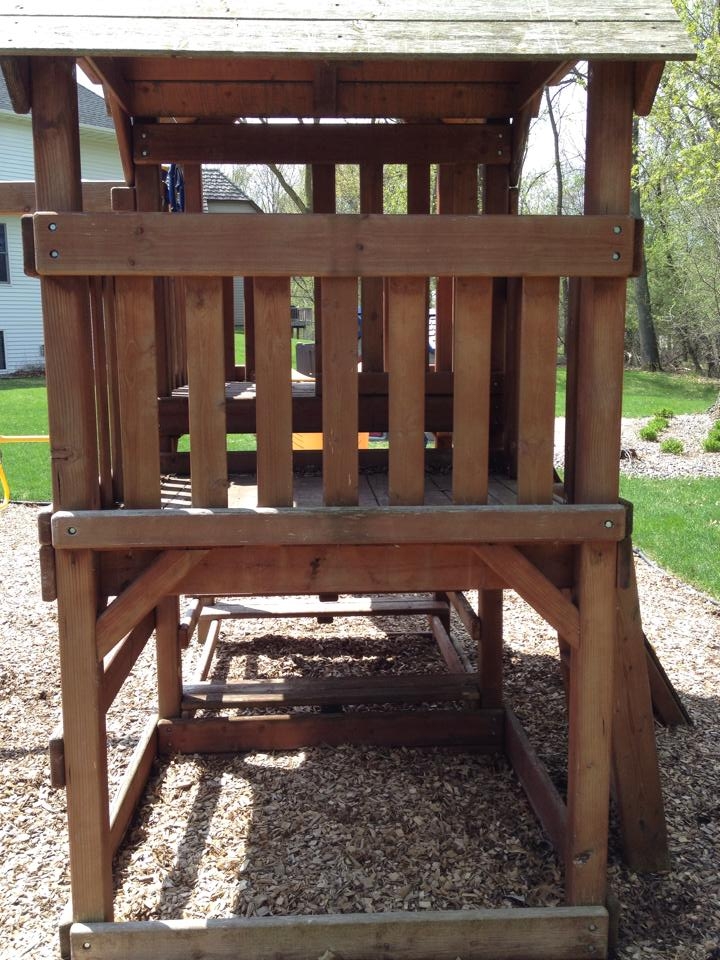
Now that I am a stay-at-home Dad, I am fortunate to spend a lot of time with our kids, ages 1 and 3 years old. The kids really like to play in the backyard when the weather is nice, and, in particular, they like to spend time on the playground set. However, while they are running around and getting in shape while playing, I am mostly in a position to just watch and keep them out of trouble. Same with my wife.
One day I was walking around the playground set while the kids were on the swings, and I realized that we are missing a great opportunity here to get in shape while watching the kids. You see, we have the perfect location on the playground structure for a pullup bar! From my perspective, pullups are one of the best overall exercises for total upper body strength. And, like anything else, practice makes perfect.
I was not aware of any standard pullup bars that would be a natural fit for the playground or even resistant to the extremes of outdoor weather in Minnesota. And, it really seemed like a cool do-it-yourself project. So, I went to the local hardware store and found some components to construct a pullup bar.
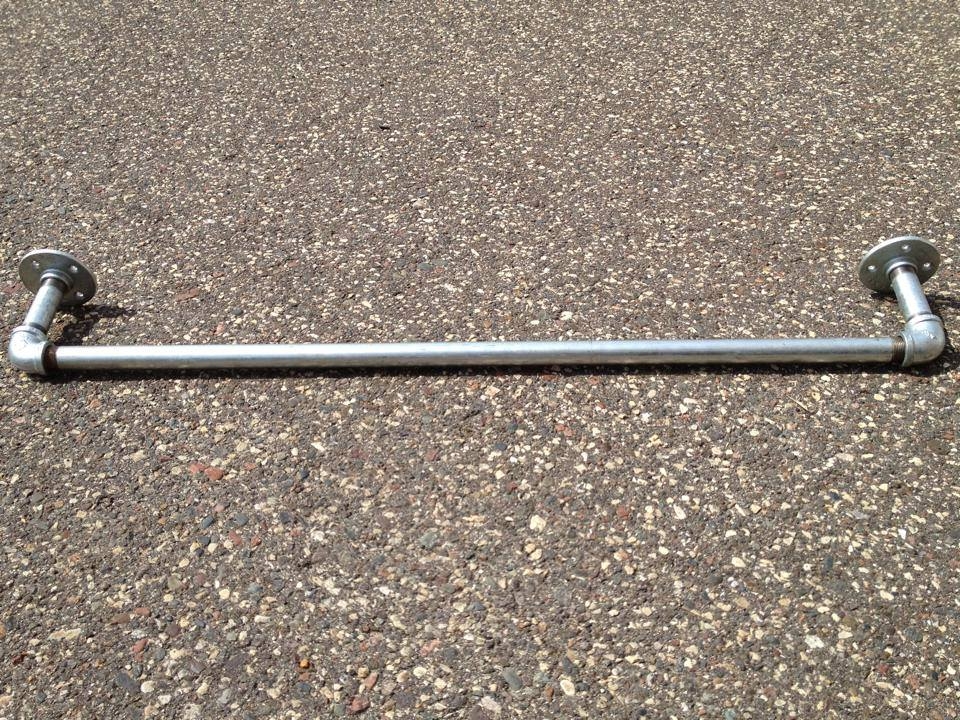
The pullup bar consists of 5 primary components, shown below.
1. 3/4 in. x 30 in. Galvanized Steel Pipe – 1
2. 3/4 in. Galvanized Malleable Iron Floor Flange – 2
3. 3/4 in. x 3 in. Galvanized Steel Nipple – 2
4. 3/4 in. Galvanized Malleable Iron 90 degree Elbow – 2
5. Carriage Bolt, Washer, Lock Washer and Screw Cap – 8 sets

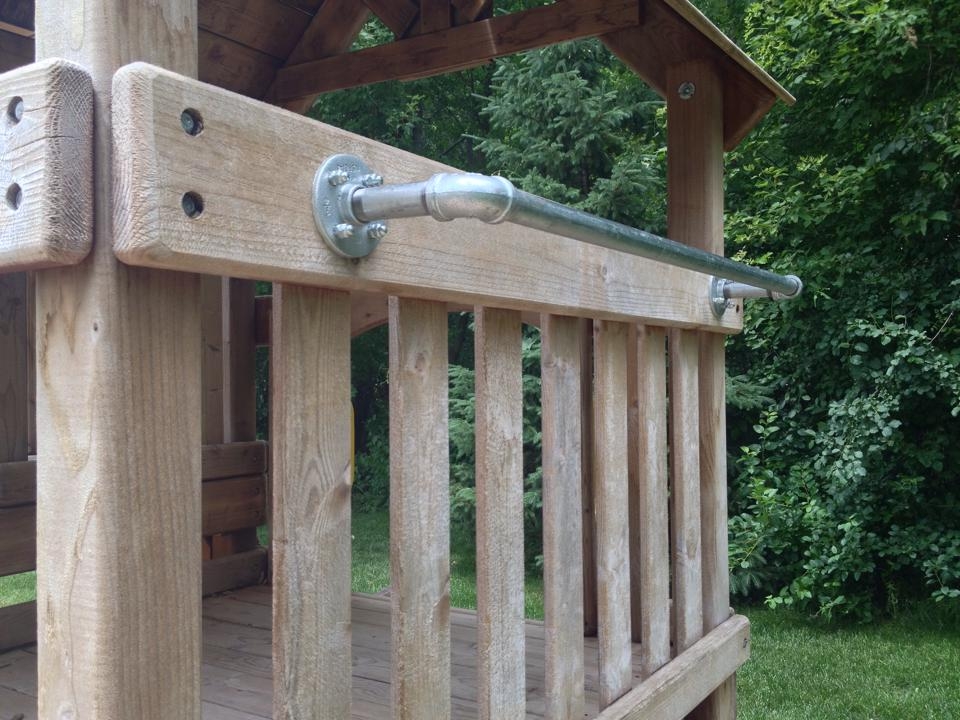
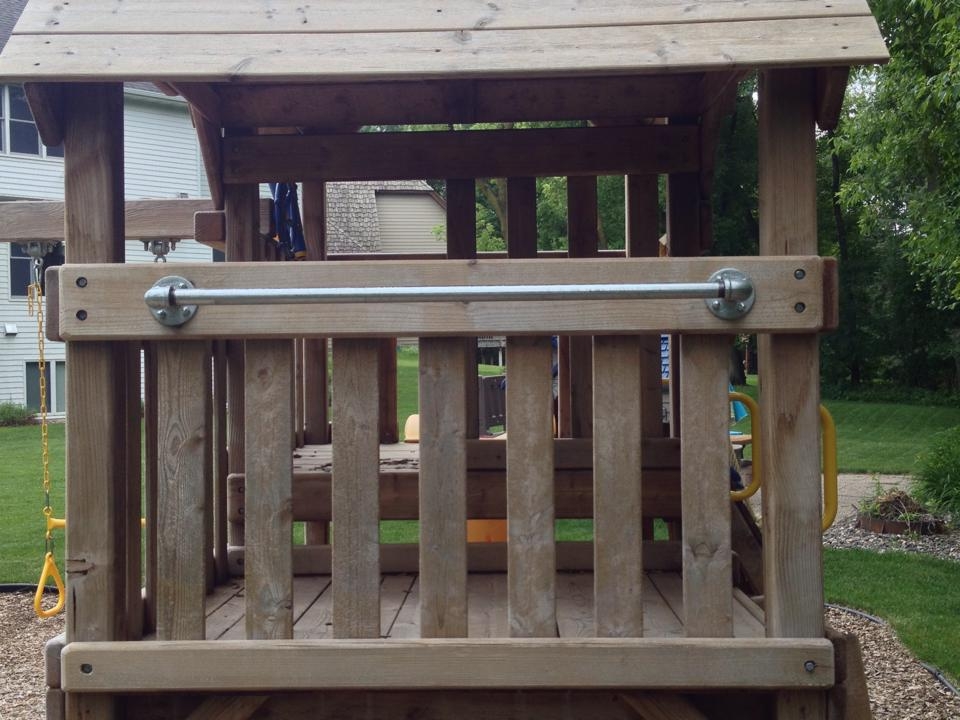
Here are some pictures of the installed pullup bar on the playground set!


A few notes on the project:
– It is important to make your own strong assessment on safety for the installation of a homemade pullup bar, especially to a kids playground. In this case the horizontal header and vertical slats are sufficient to handle the body weight with proper installation. Affixing the flanges relative to the vertical slats was a little tricky in this case as the separation of slats did not provide the ideal case of each flange centered directly on a vertical slat. However, the contact and support was maximized. If you feel you need more support for the pullup bar, consider installing a header board or otherwise.
– Galvanized materials were specifically selected given the zinc oxide coating that provides sustainability and resistance to the outdoor elements by preventing oxidation. However, even if the components were to rust over time, a simple treatment with distilled vinegar solution typically returns the components to original form.
– The 3 in. galvanized steel nipple length was selected to extend the pullup bar far enough from the playground structure to perform pullups and other moves, but not too far where it creates too much additional force on the bar where it may lead to failure and pull away from the structure.
– 2 in. carriage bolts were leveraged to attach the flanges to the playground. I do not recommend screws. The flange can be installed so that the top two bolts on each flange are closer to the 10 o’clock-2 o’clock position to enhance overall support. This may be a challenge to do perfectly given that the pullup bar mostly needs to be assembled before installation.
– For safety, the carriage bolts were installed with the bolt head in the interior of the playground set where the kids play while screw caps we used on the opposite bolt ends facing the pullup bar. Of course, make sure to pre-drill holes for the carriage bolts. It is also important to confirm that the pullup bar is level before completing the installation.
– We actually had the playground cleaned and sealed before installing the pullup bar, hence the change in color appearance of the structure.
– A strong outside deck structure may be a good application for this type of pullup bar as well.
– Total cost was approximately $35 installed. Not bad!
We are very pleased with the pullup bar since installation! Not only can we perform a range of pullup variations, but also hanging abdominal moves and other exercises to get in shape while spending time outside with the kids. Oh, and the kids like it too!

I’m making a similar pull up station for a family. The question I had is the 3/4″ pipe strong enough for a 200lbs. Man. Going with 1/2″ dor wife and kids but father going with 3/4″ in between 2 12×12 posts they have on their carport… using same flange just screwing into one and drill out threads and make a 3″ hole into post stick pipe in one side and screw into other.. just needed to know I’d pipe would bend at 45″ using 48″ pipe …. Thanks for your post..Robert Rose
Hi Robert! Thanks for checking out the website. I appreciate the question. I am not certain I have the answer since I am not a structural engineer or contractor. I do know I had someone use mine that was in the 150-175-lb range and my swingset backer at the time was not very robust. I would certainly consider very strong anchors like you mentioned. It also seems to me that minimizing the distance the pipe extends from the posts may be key or you may see more demand on the anchors that may lead to failure. I do recommend posting a similar question on perhaps a contractor site or experts in building materials. Hope this helps!